


The L3 Experience Center Video Wall
Quick Start Guide
Content used with permission from All AV - written by Will Cassterly
Adapted to article format by Michelle Saaf of iLife Automation
Overview:
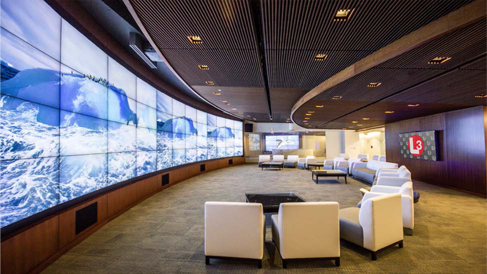
The L3 Experience Center consists of 3 rooms: The Video Wall, a Network Operations Center (NOC) and the Data Center.
The L3 Video Wall uses cutting edge technology to combine 48 high definition panels into a single curved display. The wall is 4 panels high x 12 panels wide and measures approximately 9' high and 48' wide.
The Network Operations Center features two 3x3 (9panel) displays.
Controls:
With the use of the drag-and drop- interface developed for the iPad, the wall can be quickly reconfigured into a variety of display combinations. There is a wall mounted touch pad located in the main room, and a second wall to control the NOC.
How to Turn the Wall On and Off
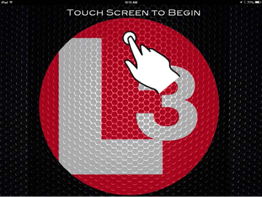
To turn the wall ON, touch the L3 logo on the screen and the screen will power on.
To turn the wall OFF, tap the power button in the upper right corner of the screen, then tap "OK" to confirm. The power button may also be used to turn the system on.
Selecting a Station
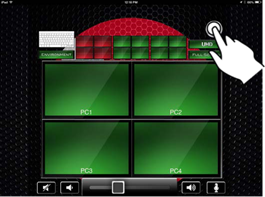
The wall consists of a LEFT, a CENTER and a RIGHT section, which are represented at the top of the screen. Tap the section you wish to control. The group of displays (also referred to as "quads") can then be individually controlled to change or swap sources, enlarge or reduce sizes or select the audio source.
Changing Sources
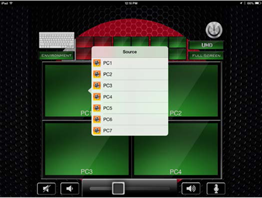
To change the source, tap the quad and a dialogue box will display allowing you to scroll up and down to select the source you wish to view on that display. The name of the source is displayed at the bottom of each display.
Note: When changing sources, the screens will flicker slightly as the matrix quickly reconfigures the displays into the new arrangement.

Swapping Sources
To swap two sources, simply drag one display on top of another and the sources will be inverted.

Enlarging or Reducing a Source
To enlarge a source to fill the entire section, drag the source into the center of the quad (or use a two-finger pinch and zoom gesture to fill the area). The source will then expand to fill the entire section.
To reduce an enlarged source back to its original state, drag the display into one of the four corners.

Full Screen and Ultra-HD
To span the image over all 3 sections, tap the "Full Screen" button. The source currently displayed in the upper left-most location will be used to fill the screen.
The "UHD" button works similarly to be able to display Ultra-HS 4K content, however the content source must be plugged directly into the display port, and requires the assistance of the IT Department.
Note: Full screen modes that span the entire width are 16:3 ratio. Regular 16:9 content will be stretched to fill the entire screen, however will appear somewhat distorted.

Controlling Audio
To change the audio source, simply double-tap on display of the source you wish to hear.

Volume Controls
The volume level can be controlled with the slider at the bottom of the screen, or by using the louder, softer or mute buttons.

Wireless Microphone System
To enable the wireless microphone system, click on the microphone icon in the lower right of the screen. Presenters have a choice of hand-held or lavaliere clip-on mic.
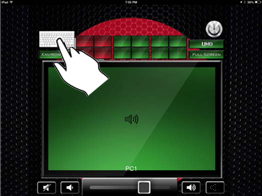
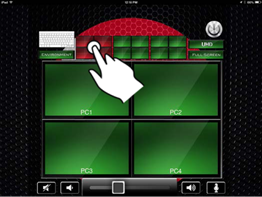
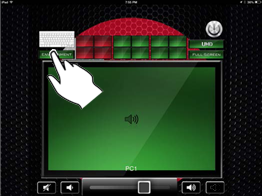
The Wireless Keyboard and Mouse
The wireless keyboard and mouse can be used to control PC1, PC2, PC3 or PC4. To select which computer to control, tap the keyboard in the upper-left corner of the screen, and select the PC from the menu.
Lighting and Glass Control
Tap the "Environment" button to access lighting or turn the switchable smart glass between the rooms on or off.

Display Combinations
The forty-eight panel video wall has a total of ten different combinations that can be shown with ease using the interface provided.

Comments (0)